How to stream Power BI reports on a smart TV

Joel Monteiro
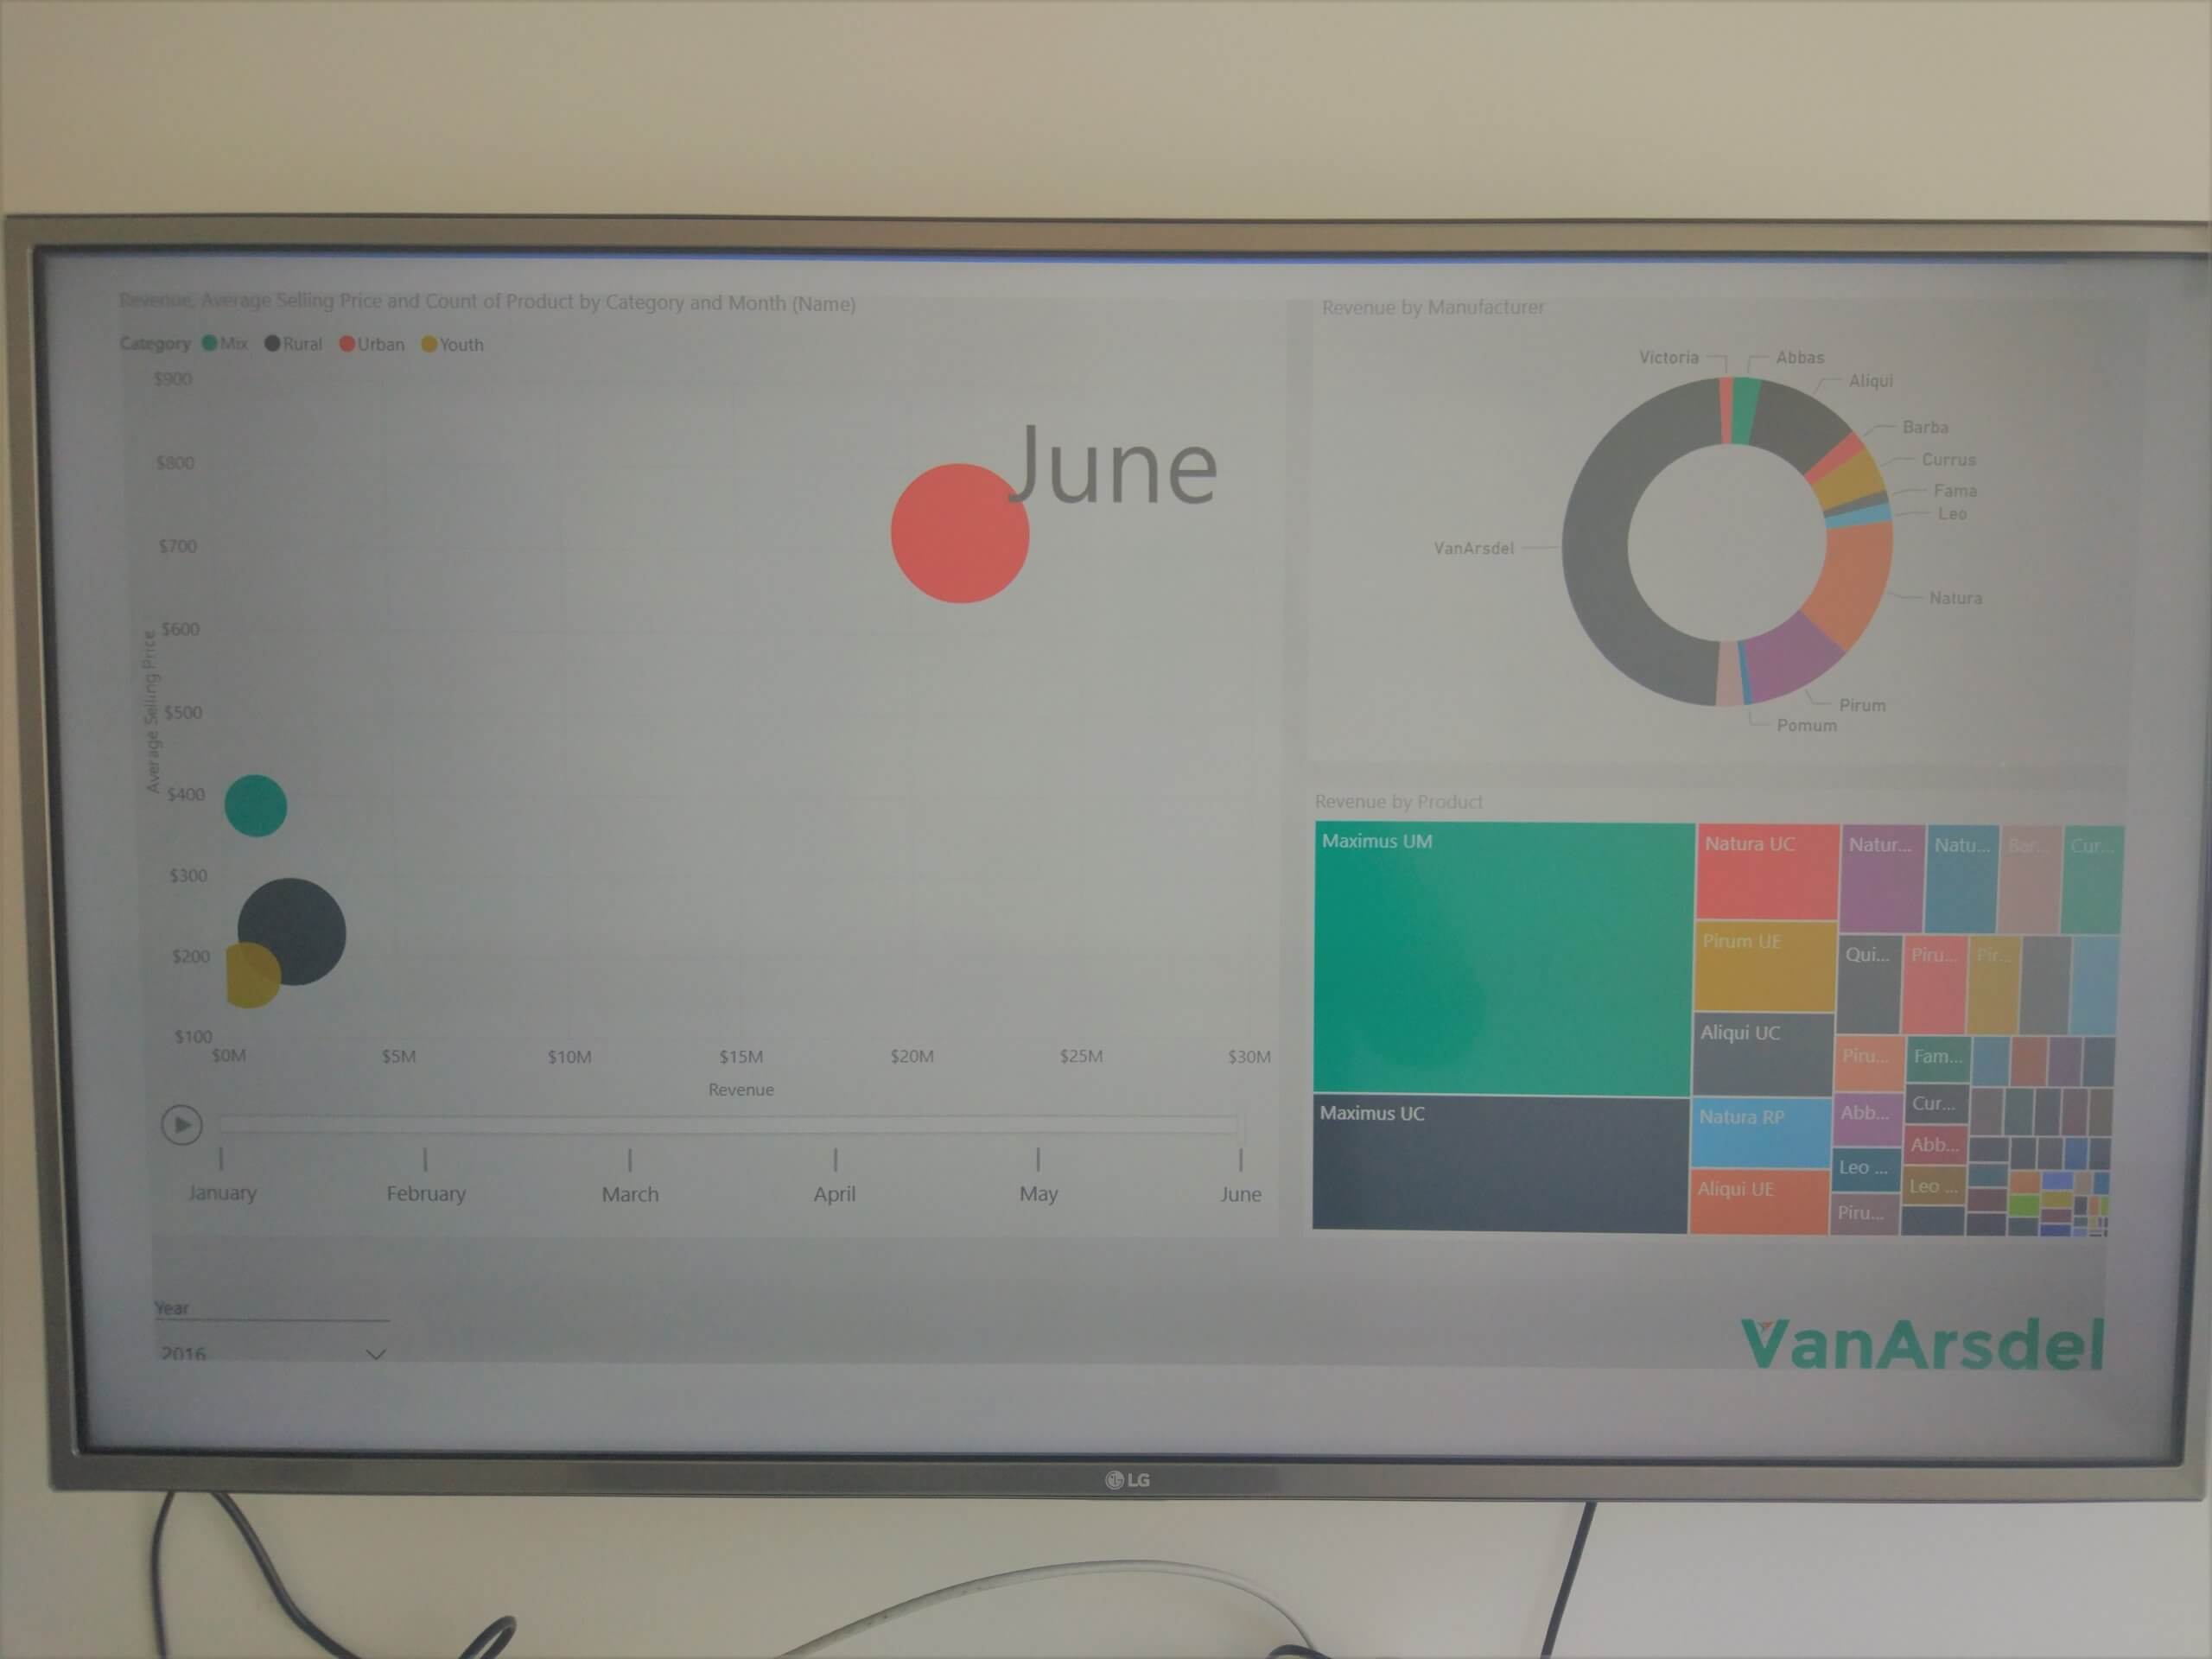
June 5, 2018After showing our readers how to schedule and send Power BI reports and dashboards by email, we address one of the most common client requests when we implement Microsoft’s Business Intelligence solution: how to stream Power BI reports on a TV. In other words, the ability to stream Power BI reports and dashboards to a large screen.
On top of using Power BI to handle their data, some of our clients also use it as a communication tool, directed at their business users and collaborators. We’re often asked to set up Power BI dashboards with the sole purpose of showing visitors how efficient the service is or how well a business is doing or displaying KPIs to workers.
Clients usually want to display this data in reception desks or waiting rooms. However, the whole setup is far from an easy task: they must hook up a dedicated computer to a TV using an HDMI cable, open Power BI, set it to full screen, and configure it to refresh data. Besides being an expensive, and resource-consuming effort, this method is limited to a single Power BI report or dashboard.
Although it’s mostly used for sending Power BI reports by email, PowerBI Robots was actually created to solve this problem and is a very effective tool for streaming Power BI reports on a Smart TV.
If you haven’t downloaded PowerBI Robots yet, click here.
How to stream PowerBI reports on a TV with PowerBI Robots
PowerBI Robots is a Robots Process Automation (RPA) tool that allows you to automate Power BI reports and dashboards and send them to anyone or any device connected to the internet – that includes smart TVs. Whether the TV has integrated internet capabilities or is connected through a set-top box (such as an Android TV box or Amazon Fire TV), if it has a browser, Power BI dashboards and reports can run on it.

Firstly, you must go to the PowerBI Robots web agent and click Create on the Playlist menu. Alternatively, click Actions and then Edit on a previously created playlist by selecting it from your list.
On the General tab, you should:
- name the playlist.
- pick PowerBI Robots Cloud from the Send To menu.
- set the default screen size.
- the screen-captures recurrence (i.e. your data’s refresh rate).

Since PowerBI Robots automatically generates a URL for you, skip the Recipients tab and jump to Visuals. Click Add Power BI account and a screen displaying your Power BI workspaces will pop-up. You may see all reports and dashboards contained on each by clicking the plus sign. Select the report pages and individual tiles you wish to send by checking their boxes (alternatively, select them all). Furthermore, you can use this tab or the next to apply any filters to your reports. Click Create (or Update) to finish your playlist.
As with every PowerBI Robots playlist creation or modification, you must sync it in the desktop agent afterward. Launch it and hit Synchronize on the General tab for changes to take place.

Setting up your smart TV to display Power BI reports is as easy as it gets
The next step is launching your smart TV’s web browser. Go to the PowerBI Robots web agent and log in to your account. Select your playlist, go to Actions, and choose View Slideshow. A window will pop with the option to set up the interval between images (from 10 seconds to 5 minutes). It will also give you the automatically generated URL with your playlist.

If your TV allows you to do so, copy the URL and paste it into a new tab. Otherwise, you’re going to have to do it manually. Press Enter (or your TV’s OK button) and you will see the playlist you’ve just configured broadcast on your TV. All that’s left is to select the full-screen option on your smart TV’s browser, and you’re done.

If you haven’t tried PowerBI Robots yet, you can do it for free by clicking here, registering, and downloading the desktop agent. When you’re ready to upgrade to the full version, a 1-year PowerBI Robots license for company-wide use is available.
If you’re having any trouble installing and configuring the PowerBI Robots desktop agent, please see point 2 of our PowerBI Robots 101. If you still have any questions, please send us an email at support@devscope.net.

How to schedule and send Power BI reports by email
Sending data by email is an often requested feature still missing from Power BI. Our clients begged us for the same thing, so we came up with a solution.
