PowerBI Data Portal 101

Joel Monteiro
July 21, 2021Welcome to the PowerBI Data Portal 101 guide. This article covers in detail all the features data professionals can take advantage of in DevScope’s latest web tool.
What is PowerBI Data Portal?
Power BI dataflows process data from sources as diverse as SQL Server, Data Lakes, Excel files, or even the web, replacing complex ETL processes and make said data easy to analyze and handle. However, dataflows are stored in a user’s Power BI workspace and can only be shared with other users from the same workplace. PowerBI Data Portal is a web tool that opens those dataflows to anyone, regardless of the workspace or the organization they work in.
Users add Power BI dataflows from their workspace to PowerBI Data Portal, which in turn creates an Open Data (OData) connection string URL for each of them. This URL connection string can then be shared with anyone and added to Power BI Desktop (or any other software that suports OData feeds), giving them access to all the data in the dataflow in read-only mode.
PowerBI Data Portal solves the very complex and time-consuming problem of having to implement an external ETL process while opening a world of possibilities by giving clients, partners and suppliers access to data they can use to create their apps and integrations.
Who should use PowerBI Data Portal?
PowerBI Data Portal is an essential tool for data professionals who work with large amounts of data. It’s especially useful to consultants who regularly implement ETL processes, data analysts and developers who require access to data from a third-party environment, and data scientists who usually have to create a massive ETL process to run Python scripts, among others.
Configuring PowerBI Data Portal
PowerBI Data Portal needs access to your Power BI Dataflows, and to grant it, you must first create an Azure Application in your Azure Data Portal. This process is simple but requires a user with permission to access the organization’s Azure Data Portal. We won’t cover the configuration process in PowerBI Data Portal 101 since it’s already covered in 4 simple steps in the “Power BI Configuration” tab in PowerBI Data Portal’s helper.
Adding a data source to PowerBI Data Portal
Adding a new user to PowerBI Data Portal could not be easier. Simply click the Consumers tab and then the blue Create button. Enter the consumer’s name, email, set the password used to log in to Power BI Desktop, and pick a role from the list:
User roles in PowerBI Data Portal grant access to the following:
- Administrator – has access to user management, data sources, and the application’s settings.
- Creator – Has access to user management and the data sources on the application.
- Consumer – Only have access to data sources they were given access to.
Click the save button after setting the consumer’s role to finish the creation process. Consumers’ names and roles can be changed afterward by clicking the Edit button.
PowerBI Data Portal currently doesn’t support a notification system for consumer emails added to the back office, so the administrator must contact new users directly and pass on their login credentials.
Users can change their password at any time by logging into powerbidataportal.com and clicking their name.
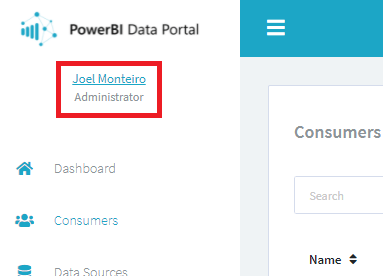
This will open the “Manage your account” tab where, among others, they can set their password and add a two-factor authentication application.
To access the dataflows later in Power BI Desktop, users who logged in using their Microsoft account must follow the steps above and set a password for their account.
Adding a consumer to PowerBI Data Portal
Adding a data source to PowerBI Data Portal is also very simple. Click the Data Sources tab from the menu and then the blue Create button. Next, click the “Select Power BI DataFlow” button to open a modal window with a list of the Power BI Data Sources for each of your Power BI workspace.
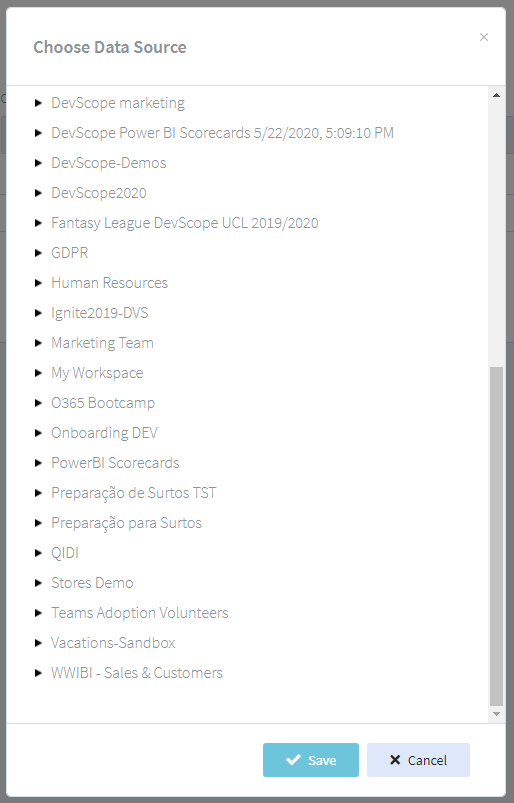
Select the data source of your choice and click Save. You can change this data source’s name and write a description for it. If at any point you wish to disable this data source, select that option under Status.

Click Save to finish adding a data source to PowerBI Data Portal.
Connecting a consumer to a data source
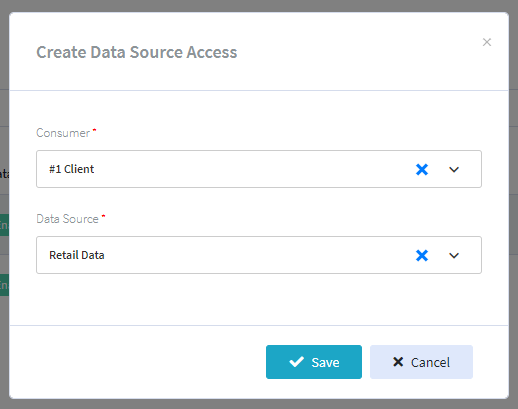
Now that we have our consumers and data sources in PowerBI Data Portal, the next step is to connect both. Start by clicking Data Sources Access from the menu and click the blue Create button. A modal window will pop up allowing you to pair a consumer with a data source.
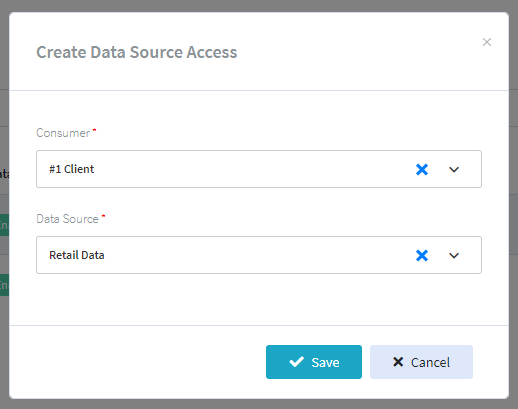
Press save and that’s it – that consumer now has access to the data source you selected.
PowerBI Data Portal currently only supports individual pairing of consumers with data sources, so if you’re trying to give access to multiple data sources to a single consumer, you’ll have to create a pairing for each of those sources.
Opening your data in Power BI Desktop
Finally, in the last step of this PowerBI Data Portal 101, we’ll see how external users can access the data from your Power BI workspace you just connected them with. For each data source connected to PowerBI Data Portal, an Open Data (OData) URL connection string is created. We’ll use this string to connect the data to Power BI Desktop, but you can connect it to any software supporting an OData connection.
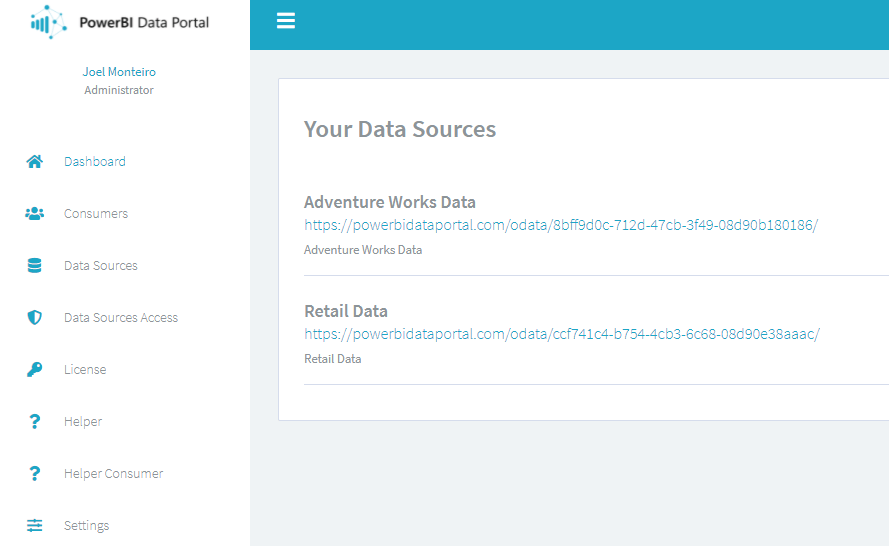
The URL connection string for each of your data sources is available from the Dashboard on PowerBI Data Portal. Click the URL under the data source of your choice, and a tab will open featuring the connecting string for that data source. Copy this string.
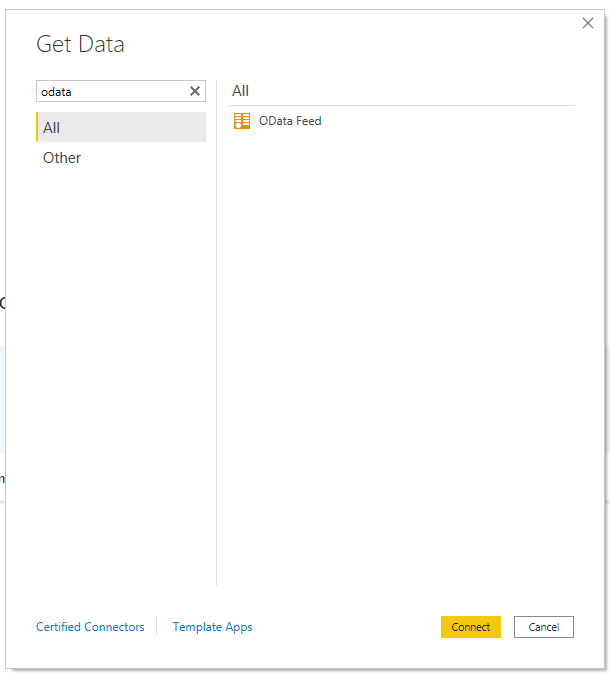
Next, open Power BI Desktop. Click on Get Data from the navigation bar and select OData feed.
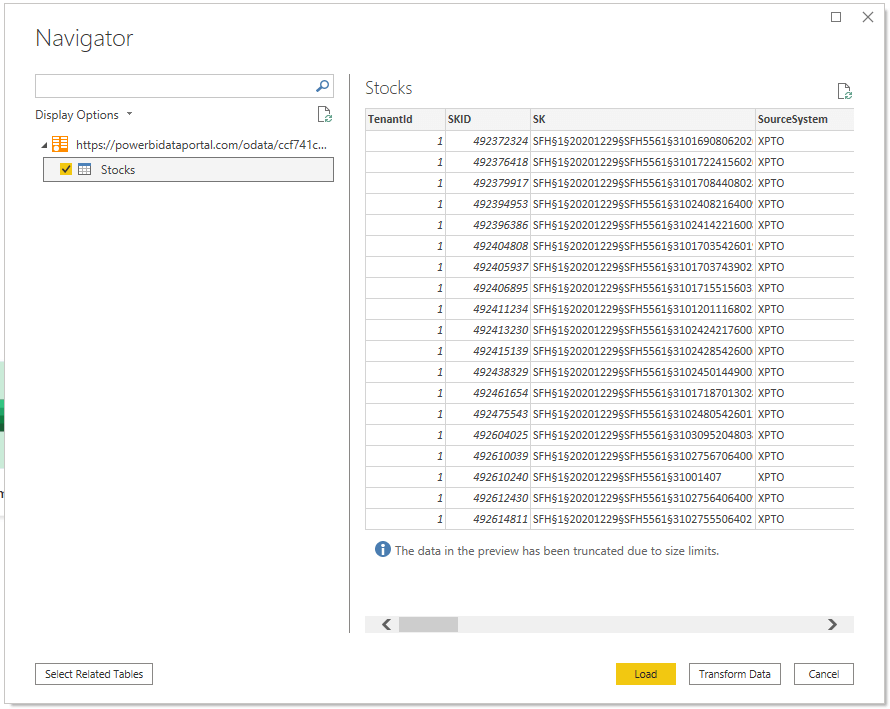
In the modal window, paste the connection string’s URL (not the string itself) and click OK. A new modal will open where you must confirm by clicking Connect. A Navigator window will open prompting you to load the data in the data flow.
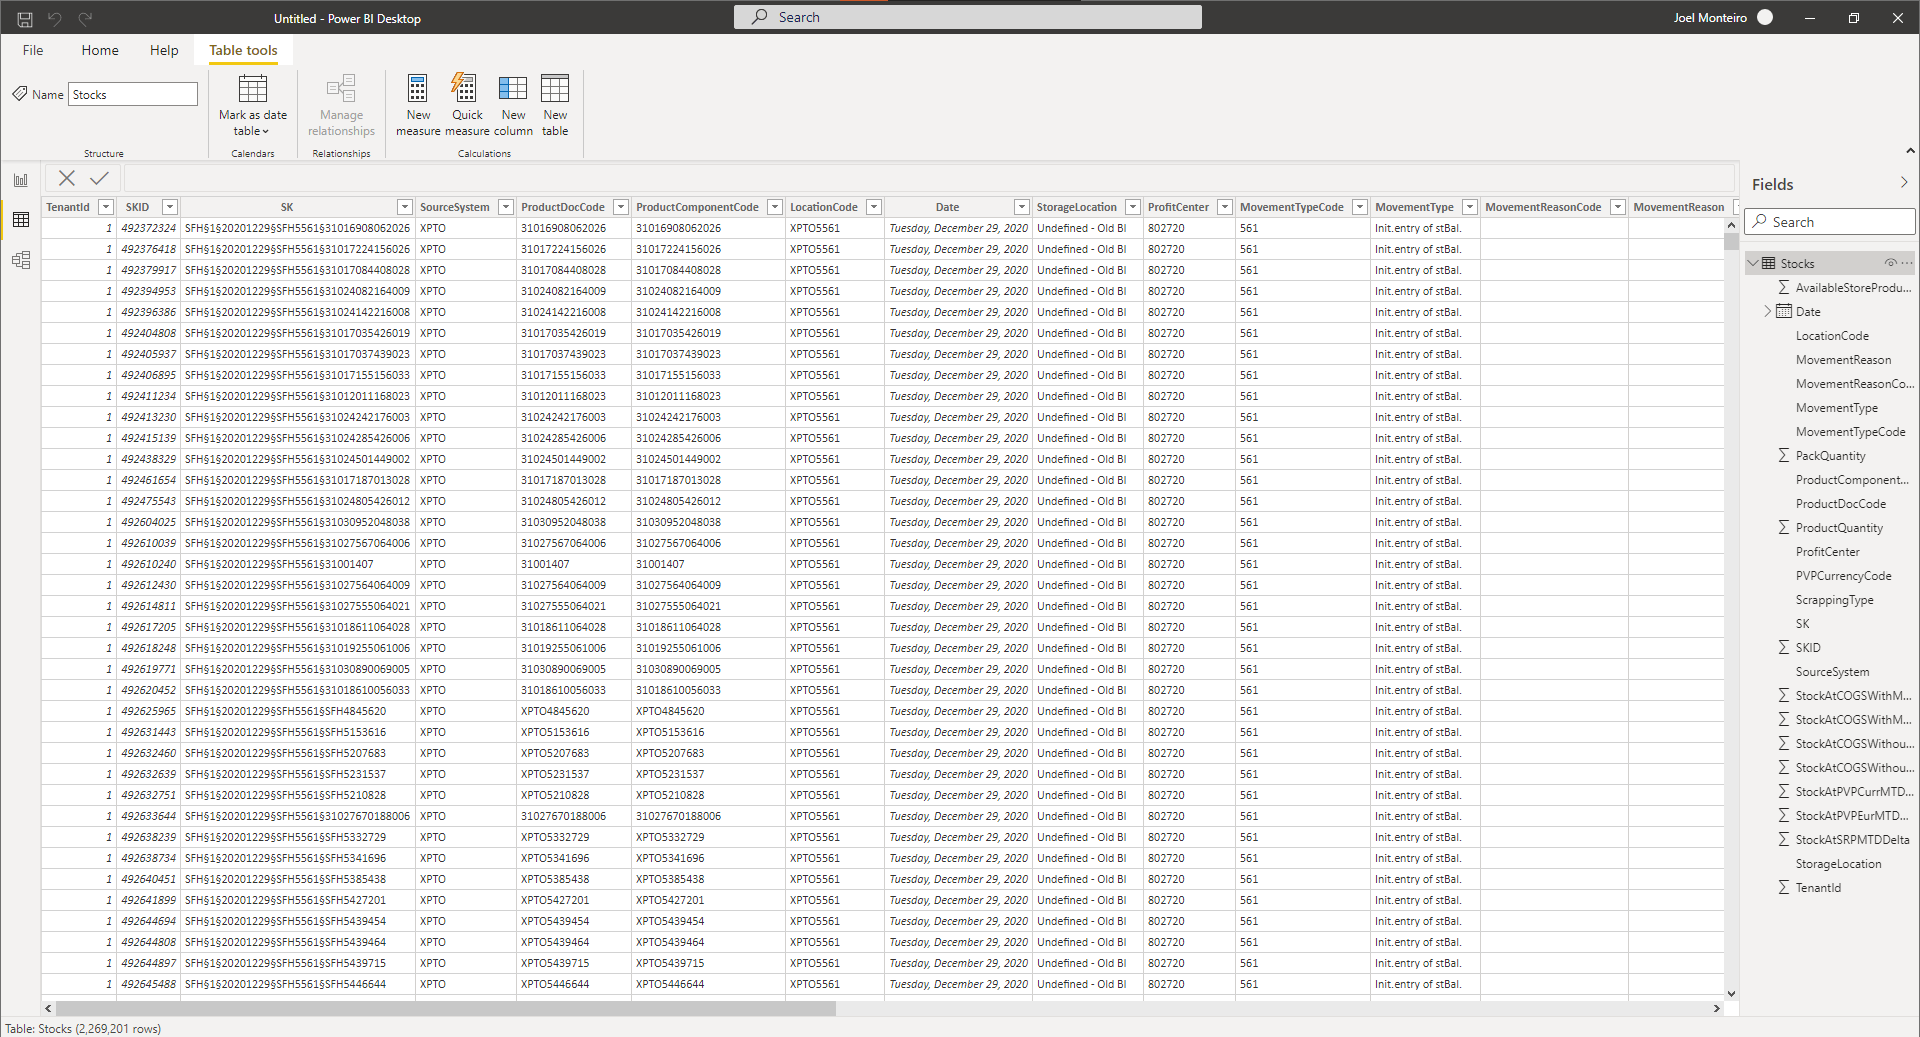
Data from the connected Power BI dataflow can now used in Power BI Desktop.
If you encounter an error connect the OData string, make sure you logged in using your PowerBI Data Portal email and password in the Basic tab.
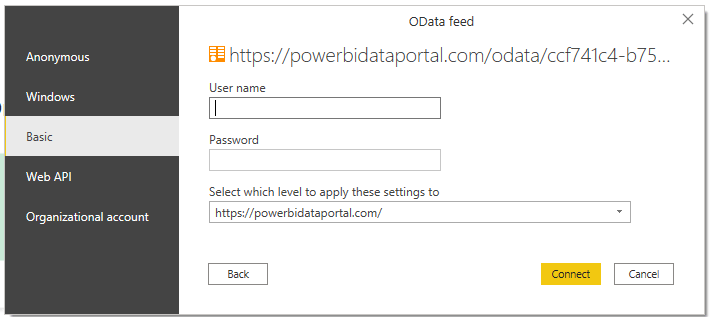
If you haven’t set a password in PowerBI Data Portal or forgot the one set by an Administrator for you, follow the steps mentioned in step 5, “Adding a consumer to PowerBI Data Portal”.
Closing words
Thank you for using our product and making it to the end of the PowerBI Data Portal 101. If you still have any questions regarding PowerBI Data Portal, please consult the product’s Helper or contact our team at mailto:support@devscope.net.

DevScope awarded Power Platform and Analytics Partner of the Year by Microsoft Portugal
DevScope was awarded Power Platform Partner of the Year and Analytics Partner of the Year by Microsoft Portugal during Inspire 2021.
